Your First Project
Once you’ve installed Writefully So and completed the workspace setup, you’re ready to start writing.
Creating a Project
Section titled “Creating a Project”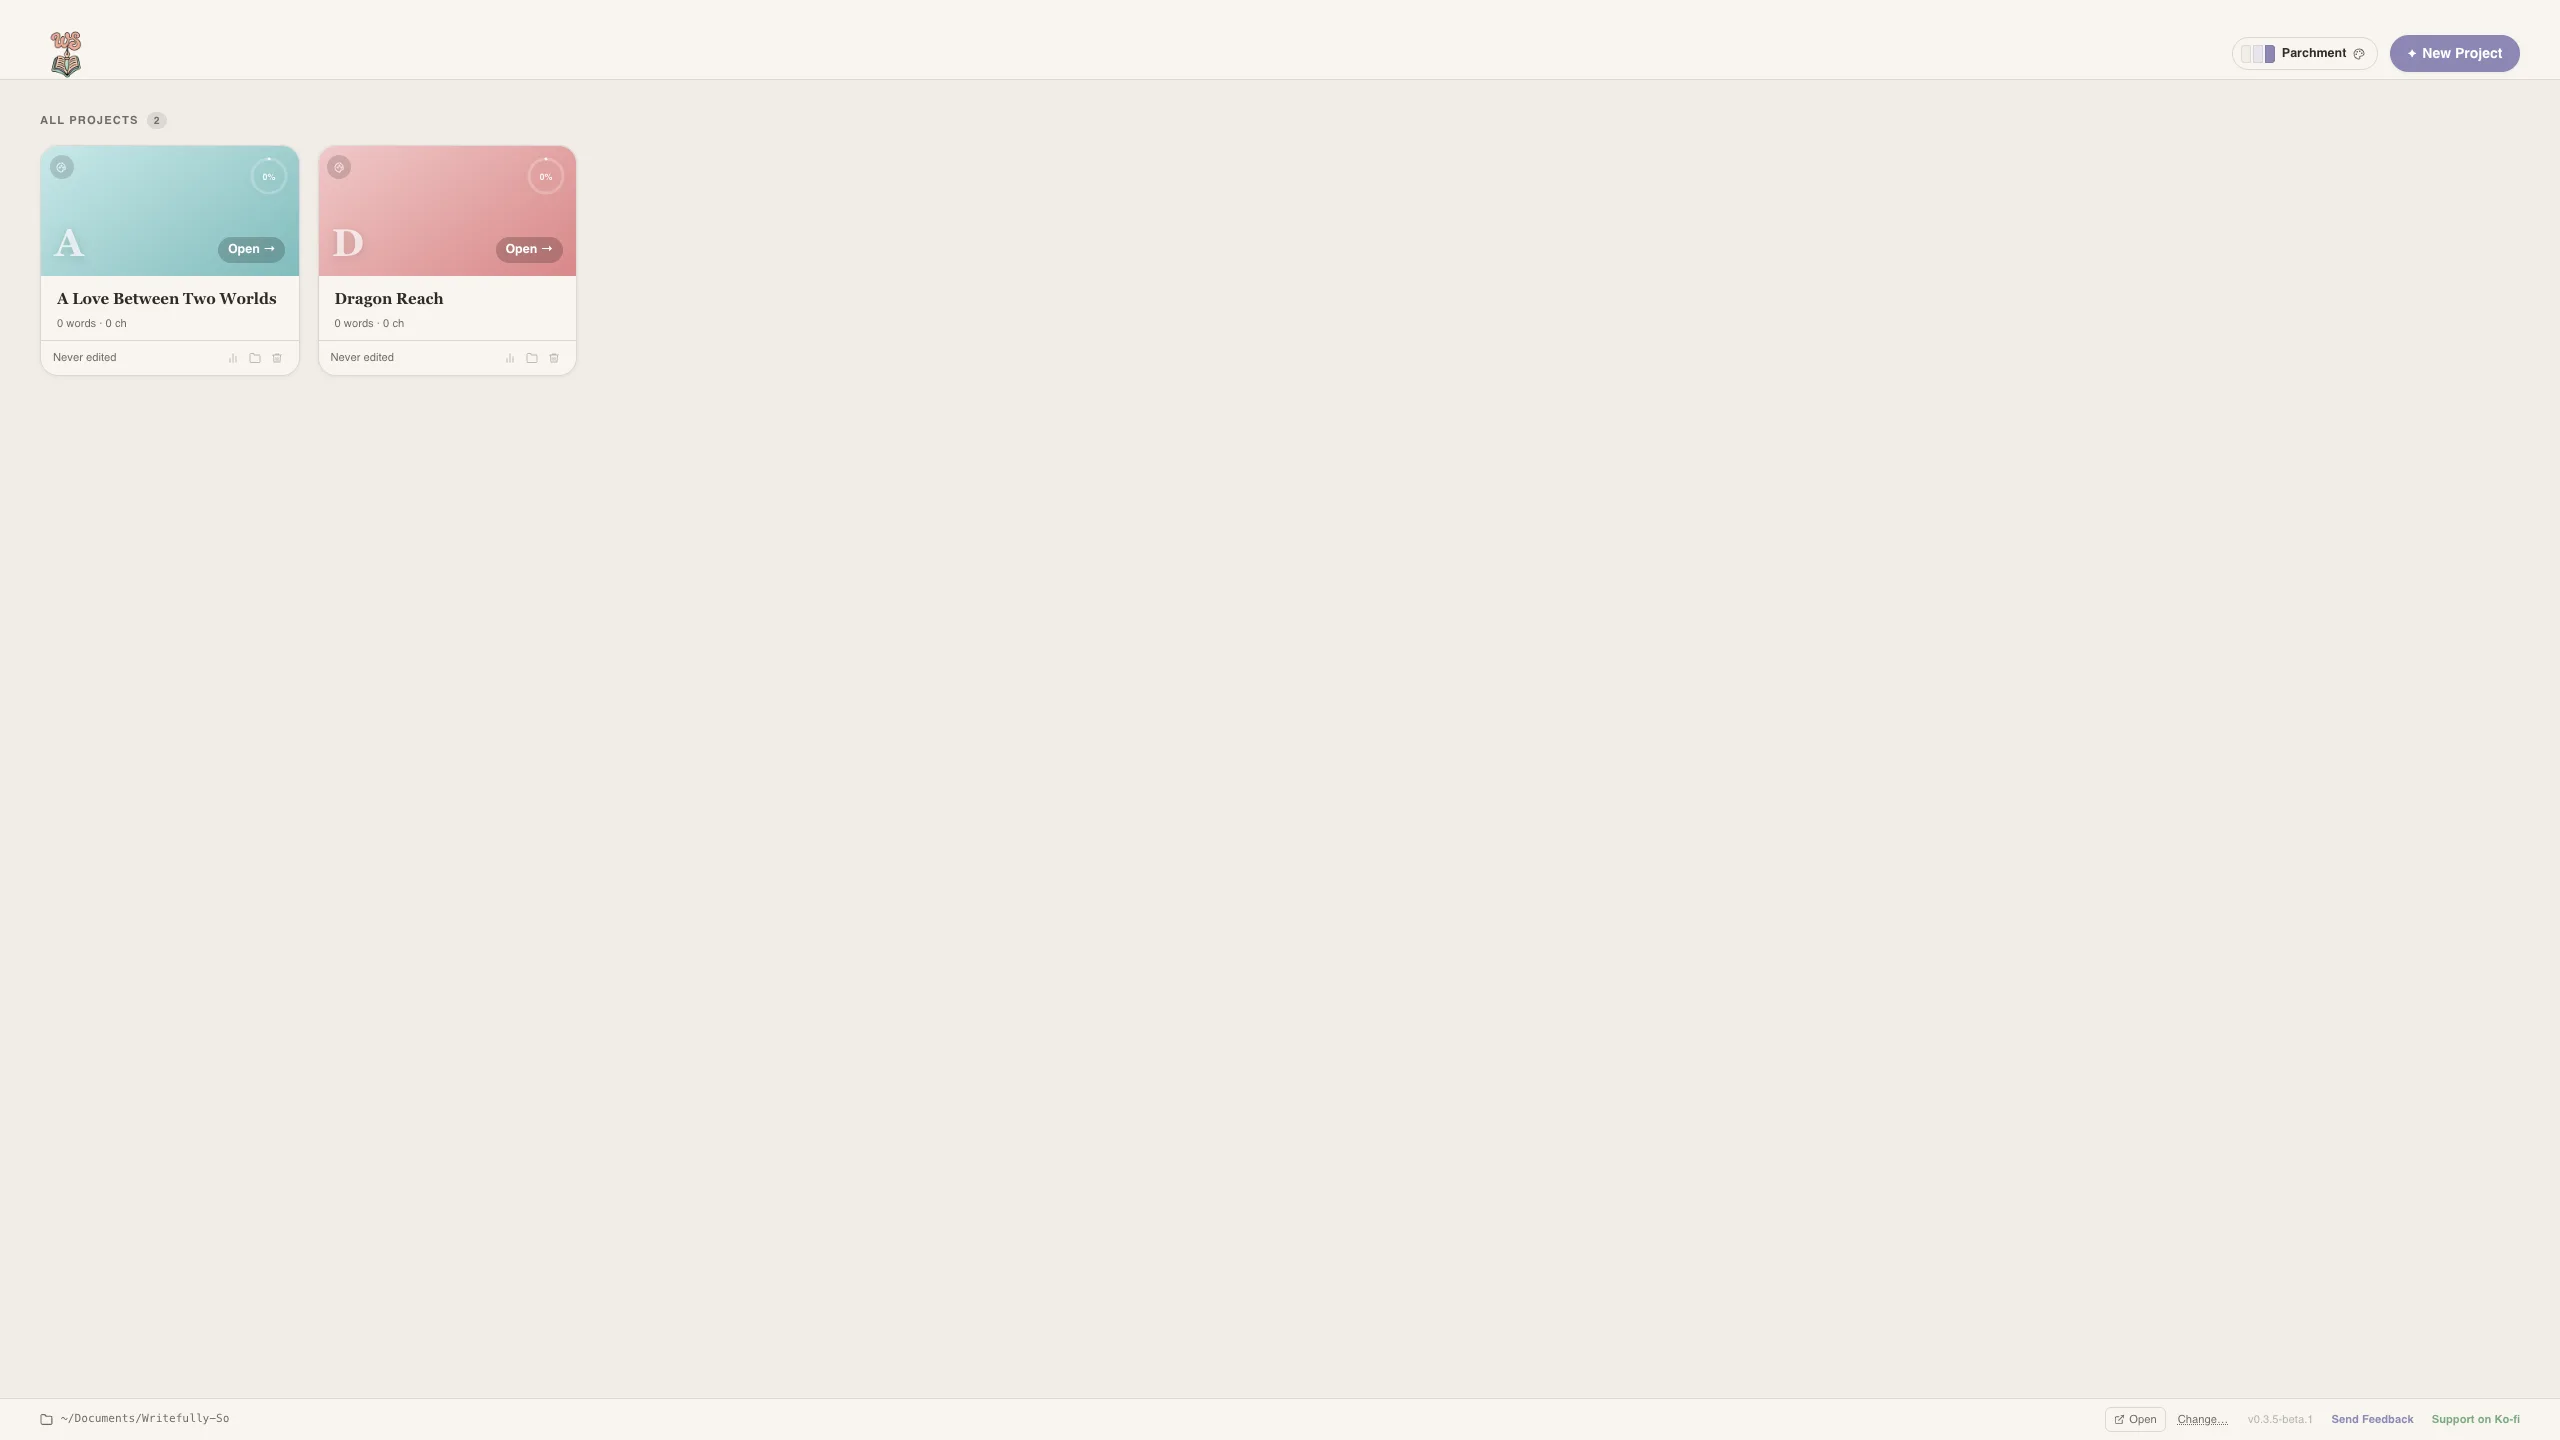
- Open Writefully So
- Click New Project on the dashboard
- Give your project a name (e.g., “My Novel”)

- Your project is created and you’ll land on the Overview dashboard
The Interface
Section titled “The Interface”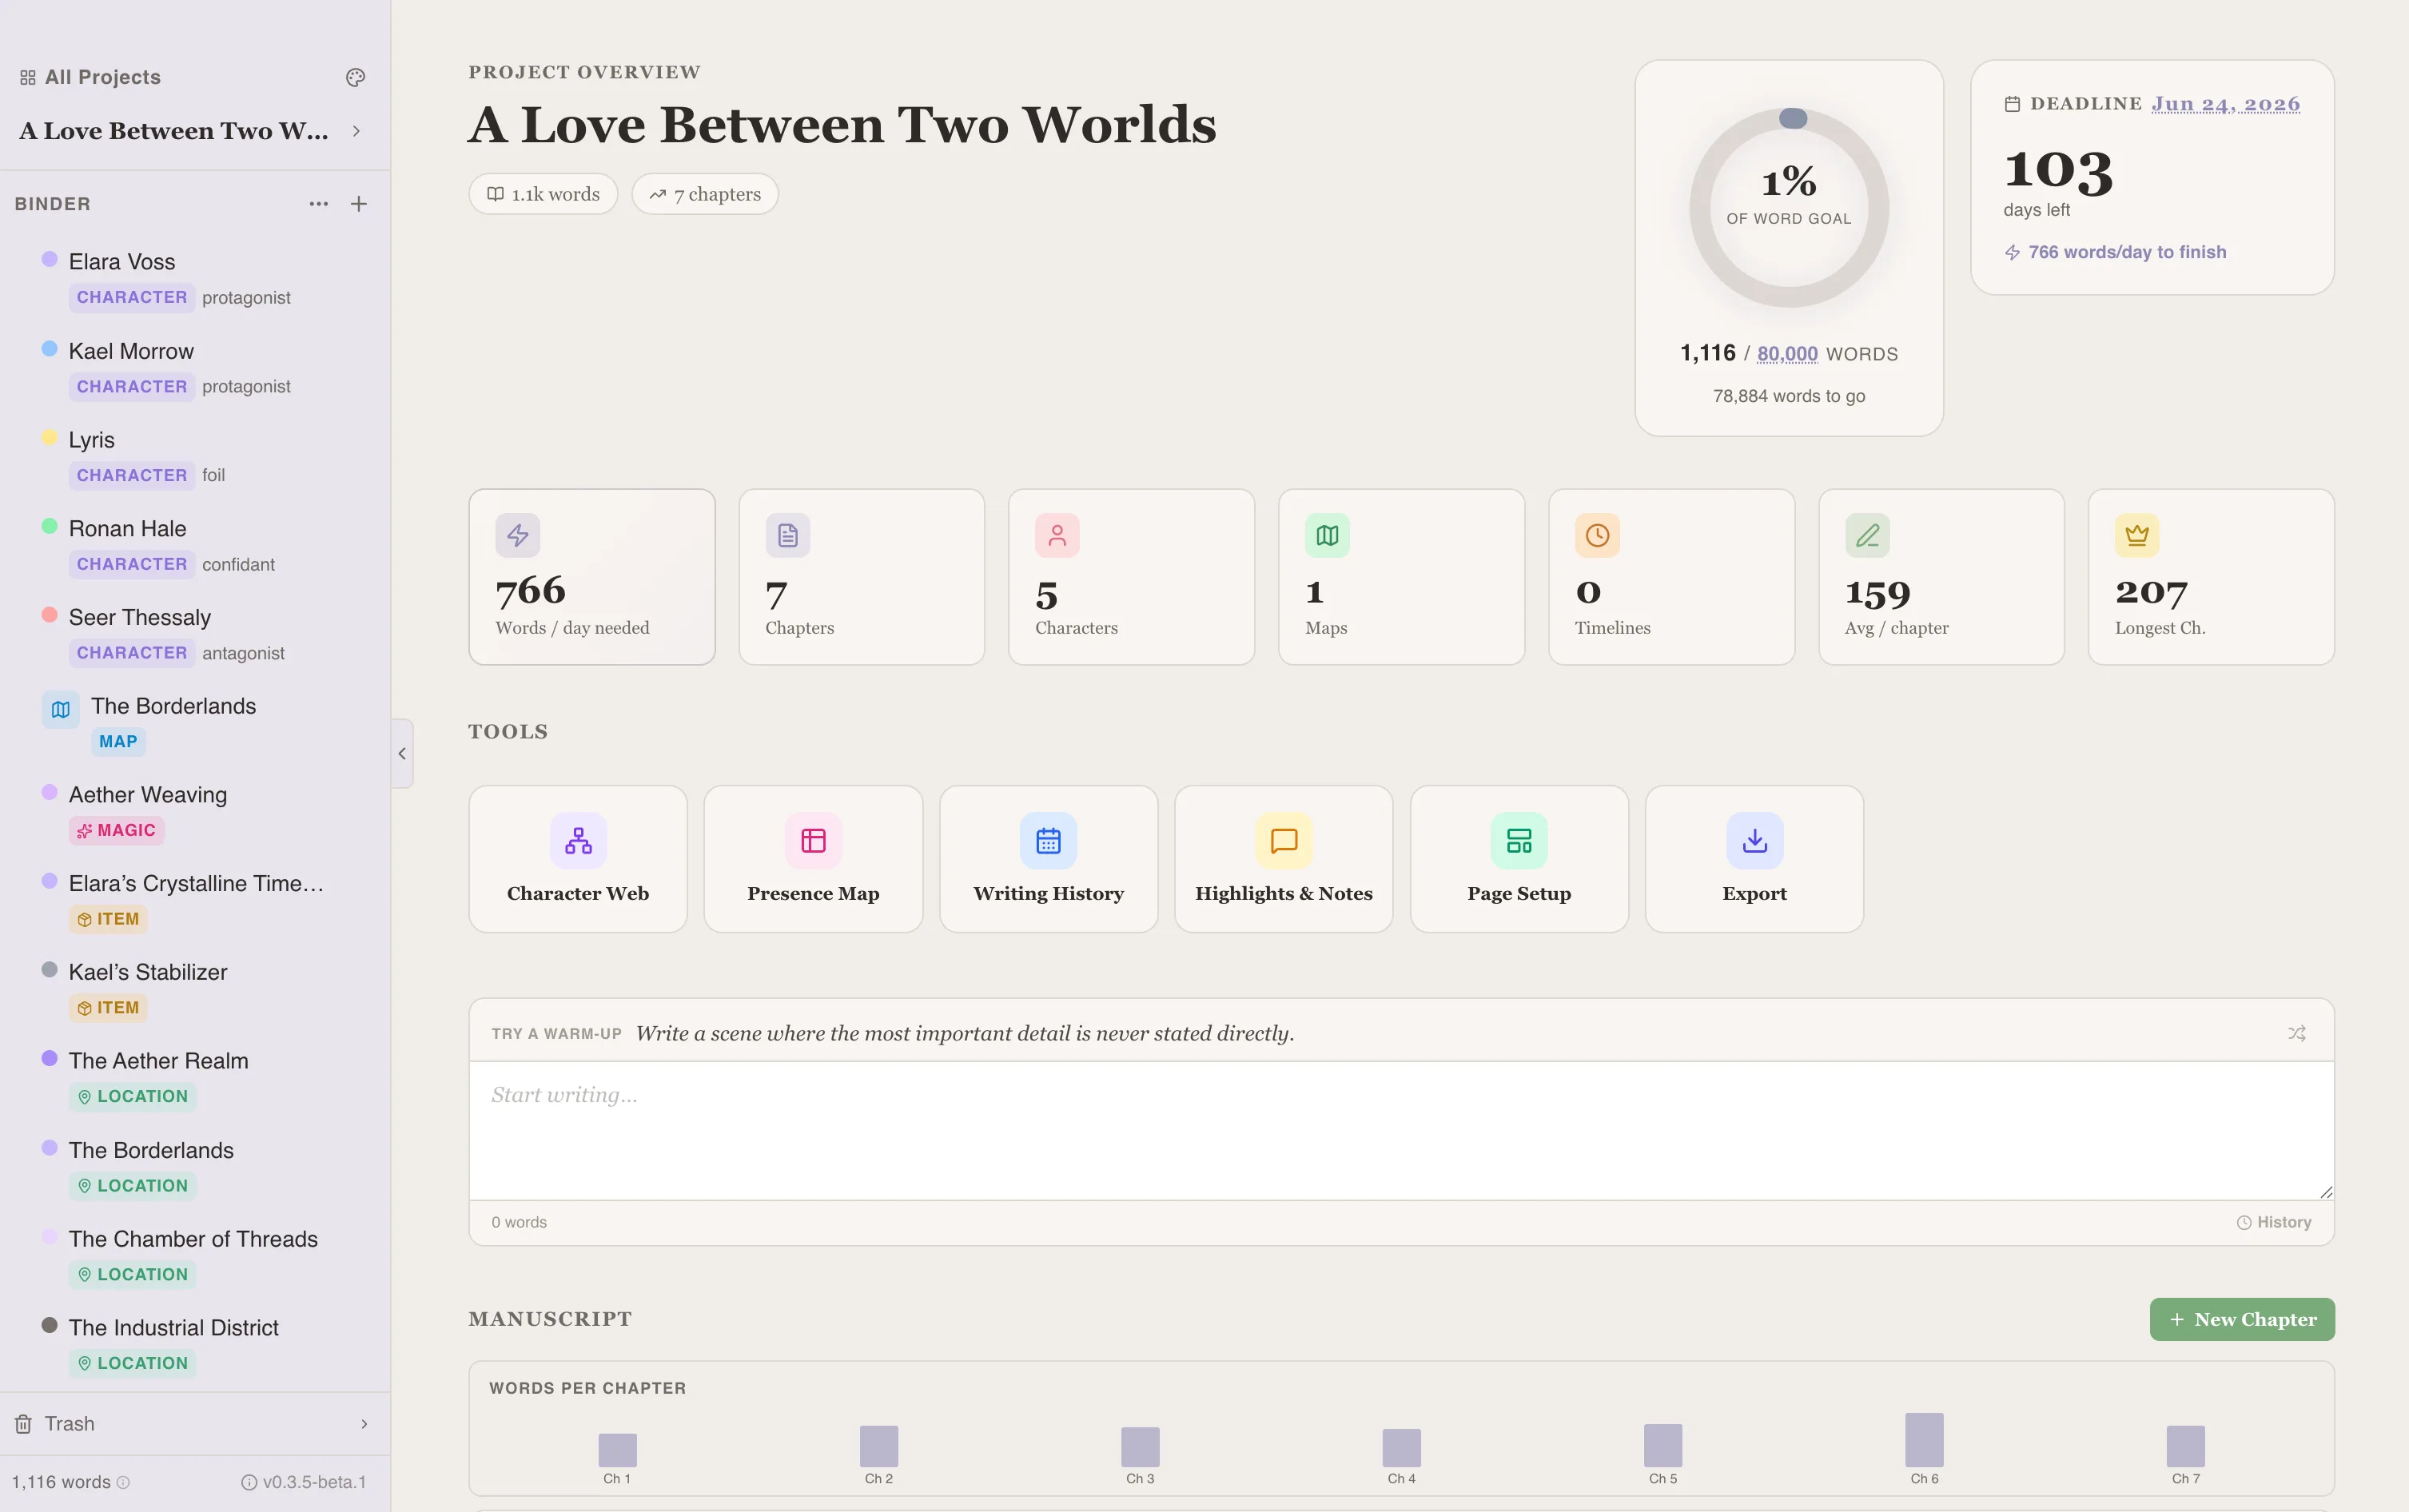
Writefully So is organized around a sidebar on the left and your content area on the right.
Sidebar Sections
Section titled “Sidebar Sections”- Chapters — Your manuscript’s chapters. Click one to open it in the editor.
- Characters — Character profiles for your cast.
- Codex — World-building entries (locations, lore, items, magic).
- Maps — Visual maps of your world.
- Timelines — Event timelines for your story.
Working Area
Section titled “Working Area”The right side shows whatever you’ve selected — a chapter in the editor, a character profile, a map, etc. You can open a split pane to view two items side by side.
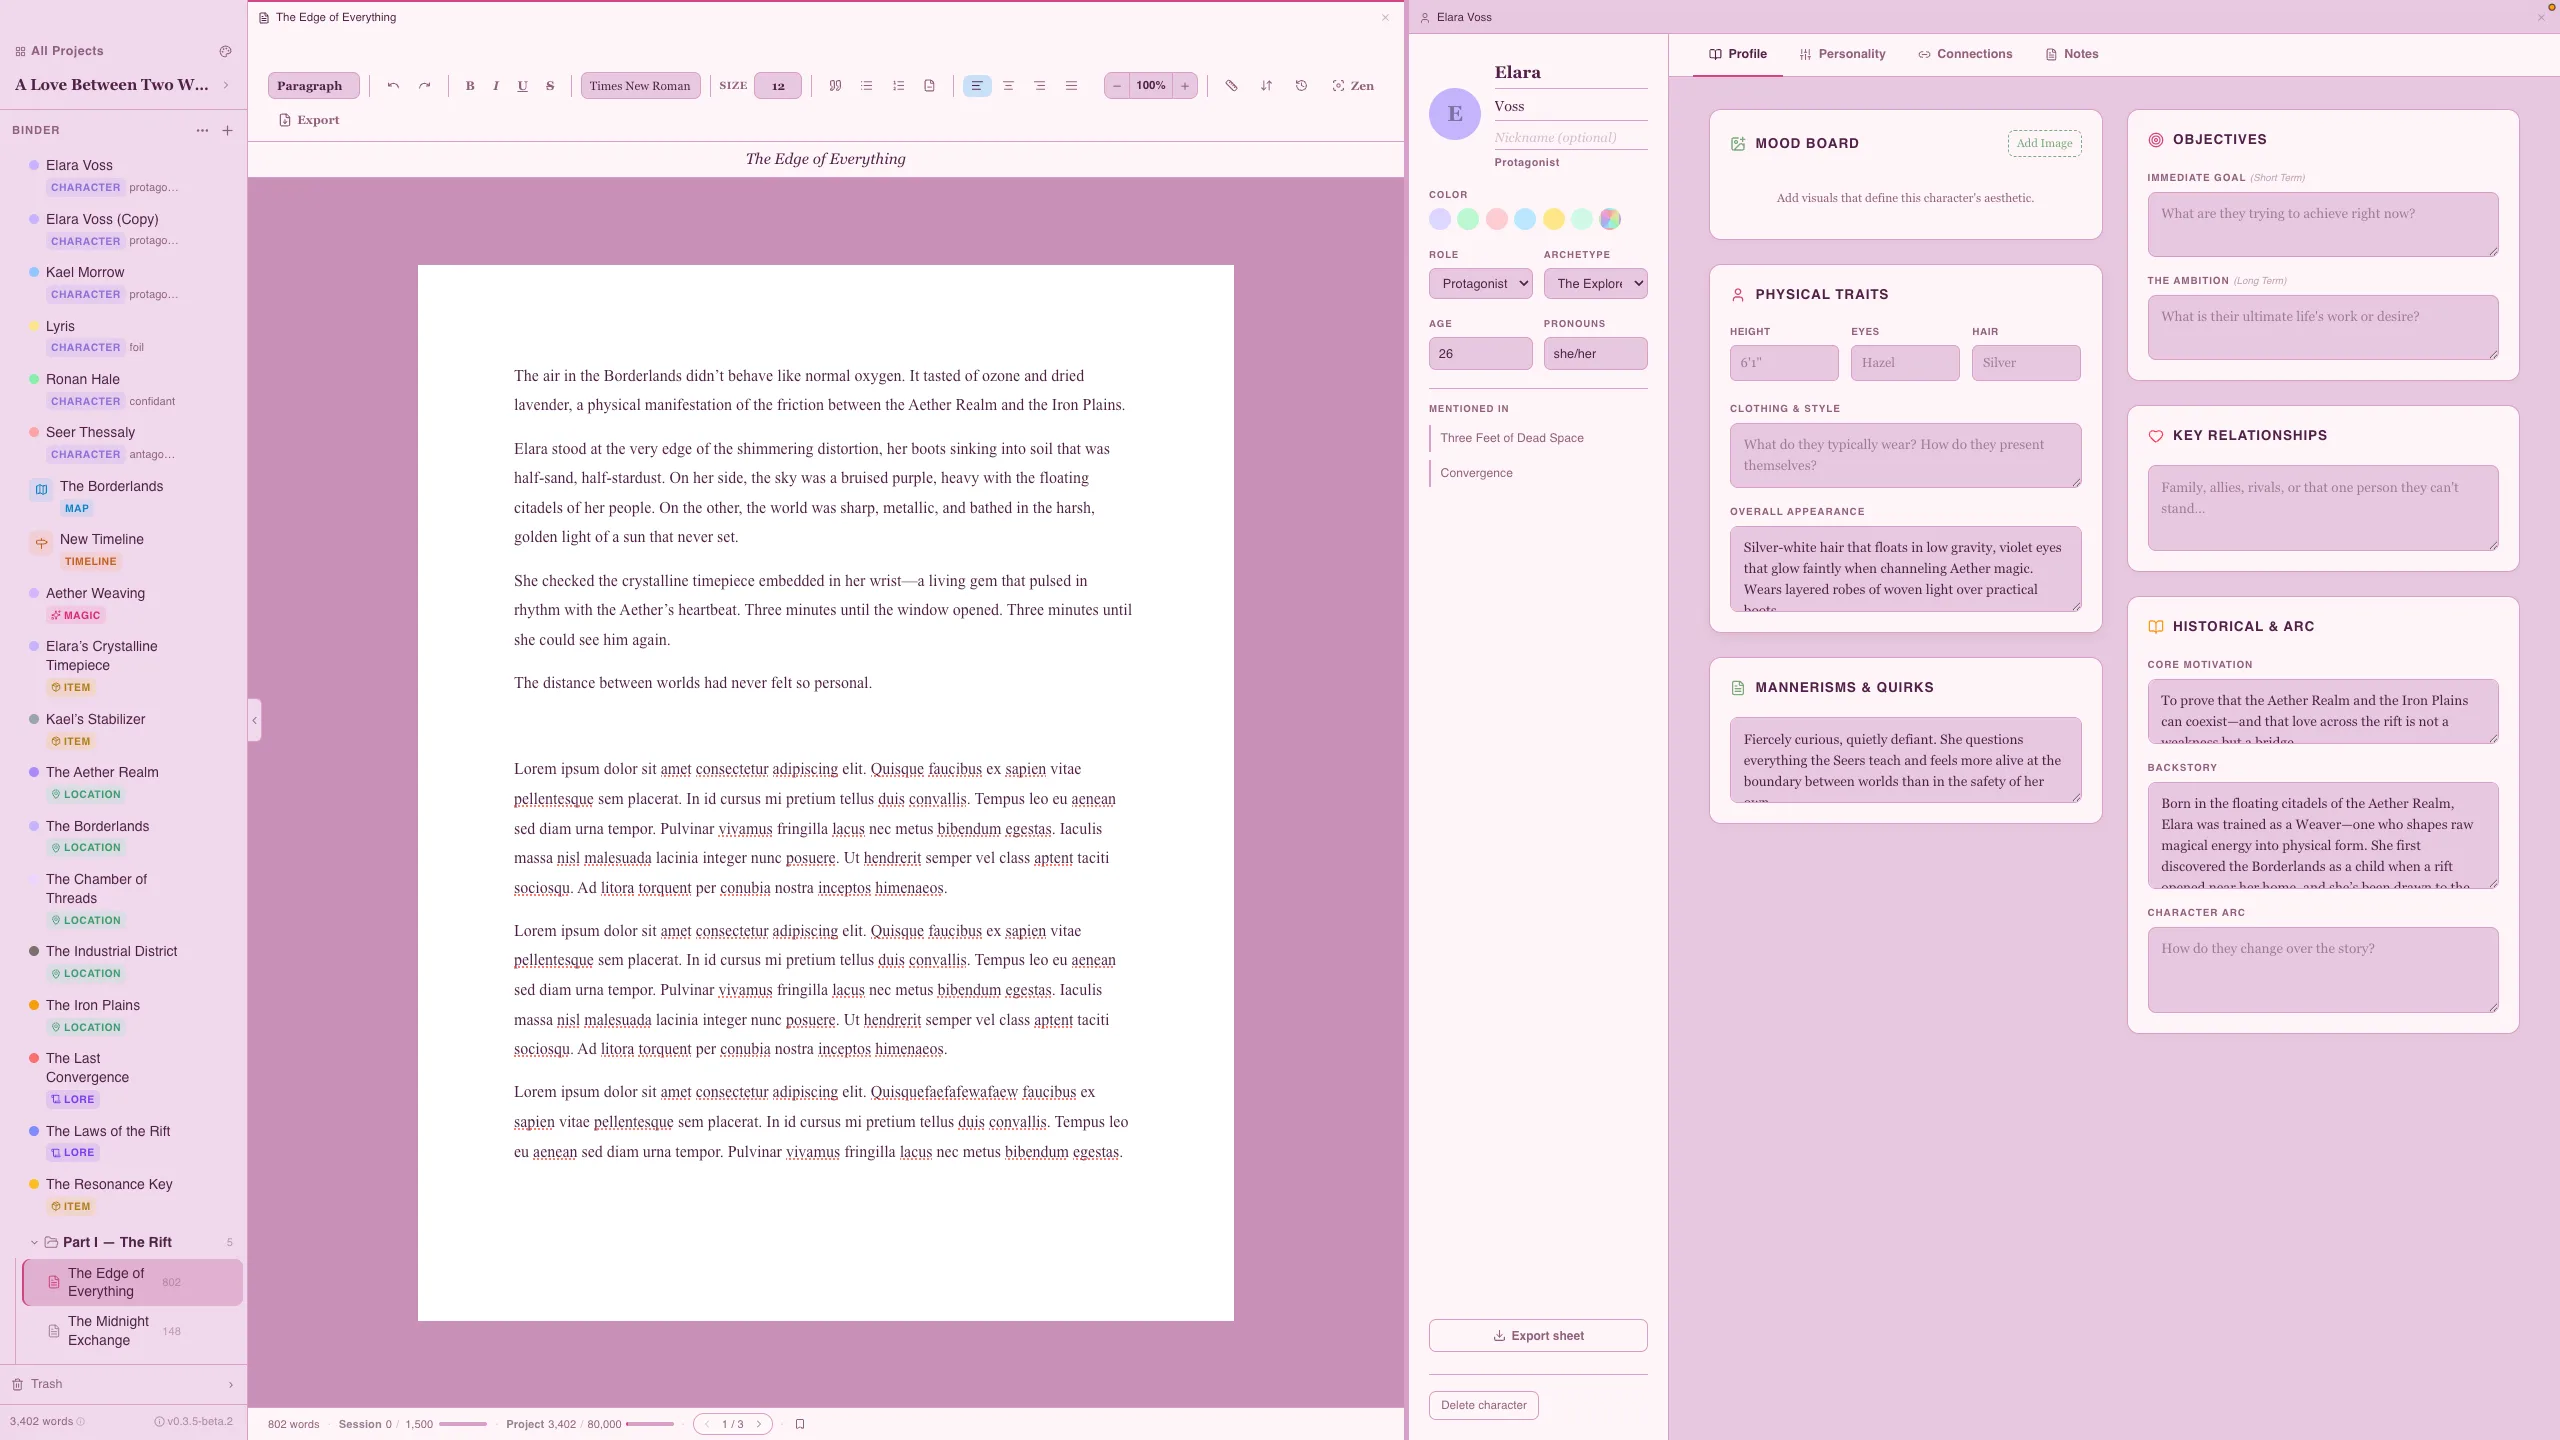
Writing Your First Chapter
Section titled “Writing Your First Chapter”- In the sidebar, click + New Chapter (or the add button in the Chapters section)
- Give it a title
- Start writing in the editor
The editor supports rich text formatting through the toolbar or keyboard shortcuts:
- Bold:
Cmd/Ctrl + B - Italic:
Cmd/Ctrl + I - Heading:
Cmd/Ctrl + Shift + 1/2/3
What’s Next?
Section titled “What’s Next?”- Learn about the editor in detail
- Create character profiles
- Build your world with codex entries